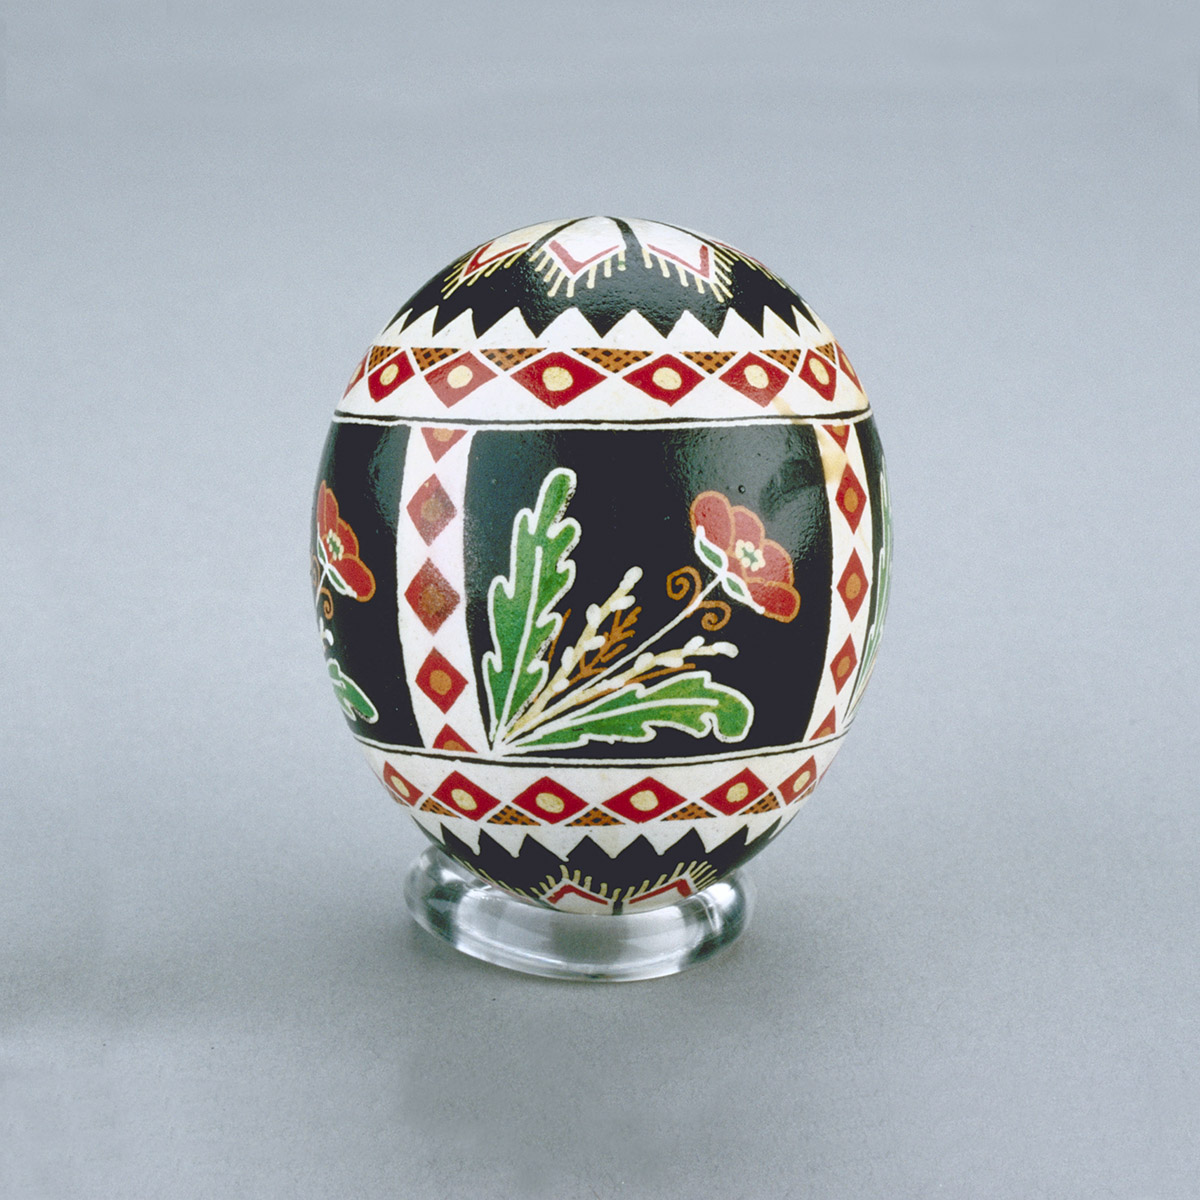
Intricately designed and richly saturated in colour, decorated eggs (pysanky) have been part of Ukrainian cultural heritage for centuries. At one time, they were believed to possess the magical ability to ward off evil spirits as they ushered in the spring. After Christianity took hold in the Ukrainian region around the 10th century, pysanky designs took on additional meanings related to Easter and the Resurrection.
In Canada, pysanky have also become symbols of cultural identity and pride within Ukrainian communities. The traditional art of decorating pysanky offers enormous scope for creativity and imagination.
Within the Museum’s large collection of Ukrainian pysanky, you can see designs inspired by flora, fauna and geometrical shapes. Each design is “written” on the shell in hot wax, using a stylus, before the dyes are applied. Similar to the technique used in batik, the wax protects the surface from the dye.
Explore this selection of pysanky from the Canadian Museum of History’s collection. To try your hand at this traditional art, check out the activities below.
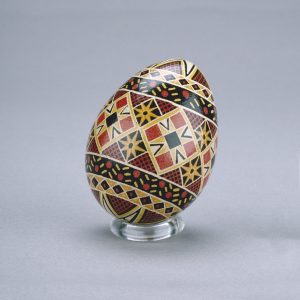 Ukrainian Easter EggArtifact Record
1968
CMH, 69-305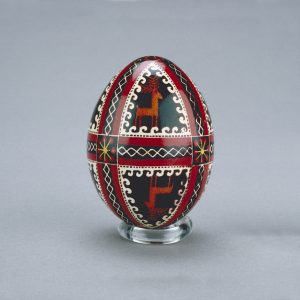 Ukrainian Easter EggArtifact Record
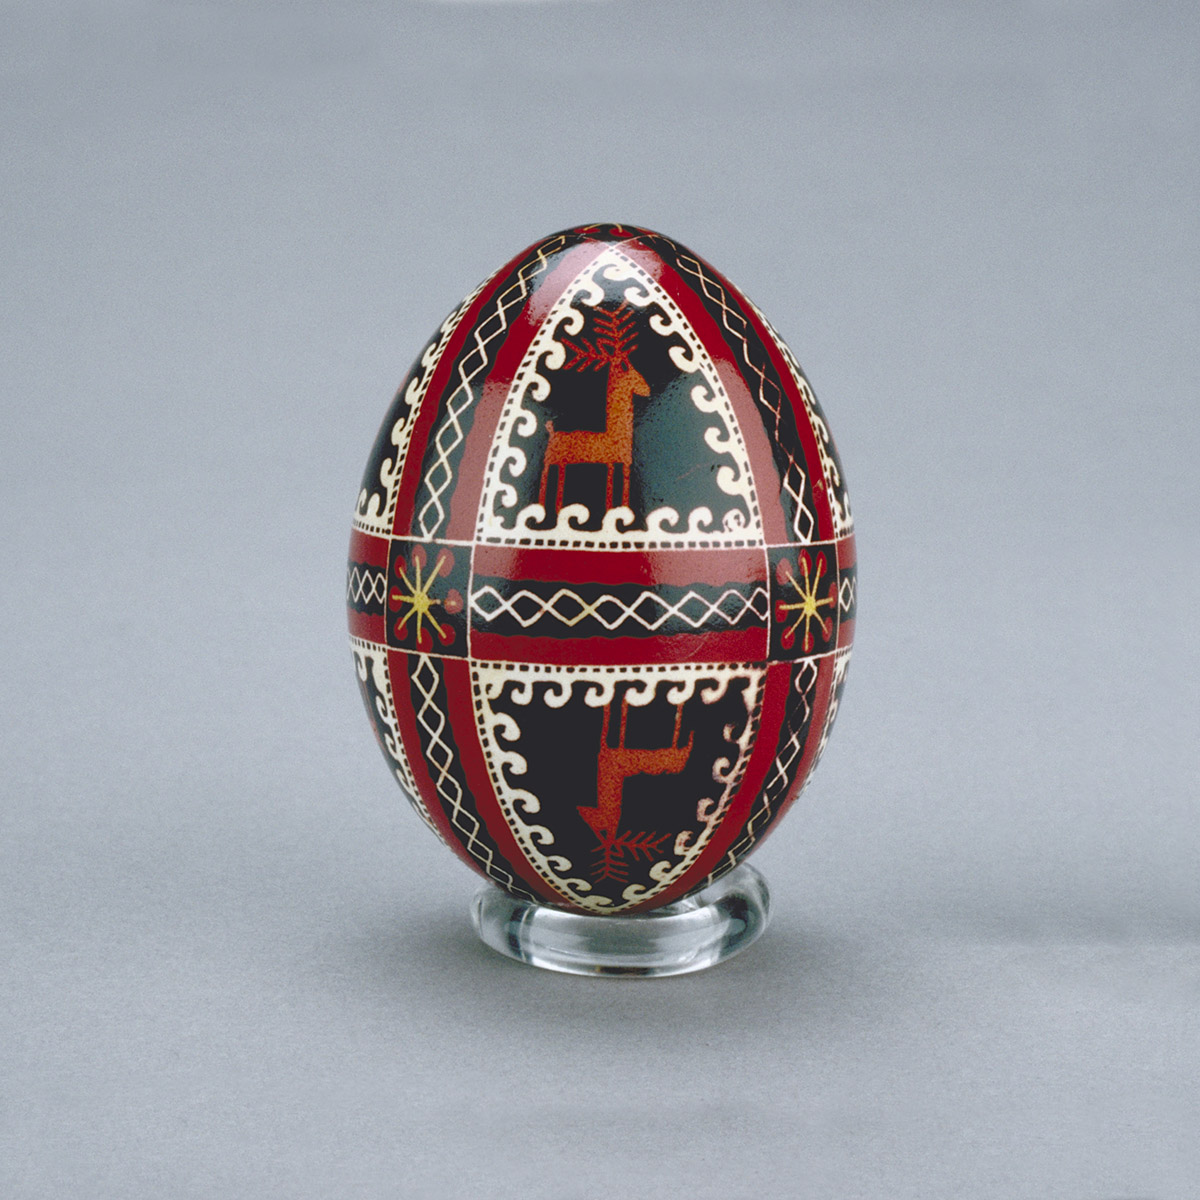
Mr. Kenneth Peacock
CMH, 68-61 Ukrainian Easter EggArtifact Record
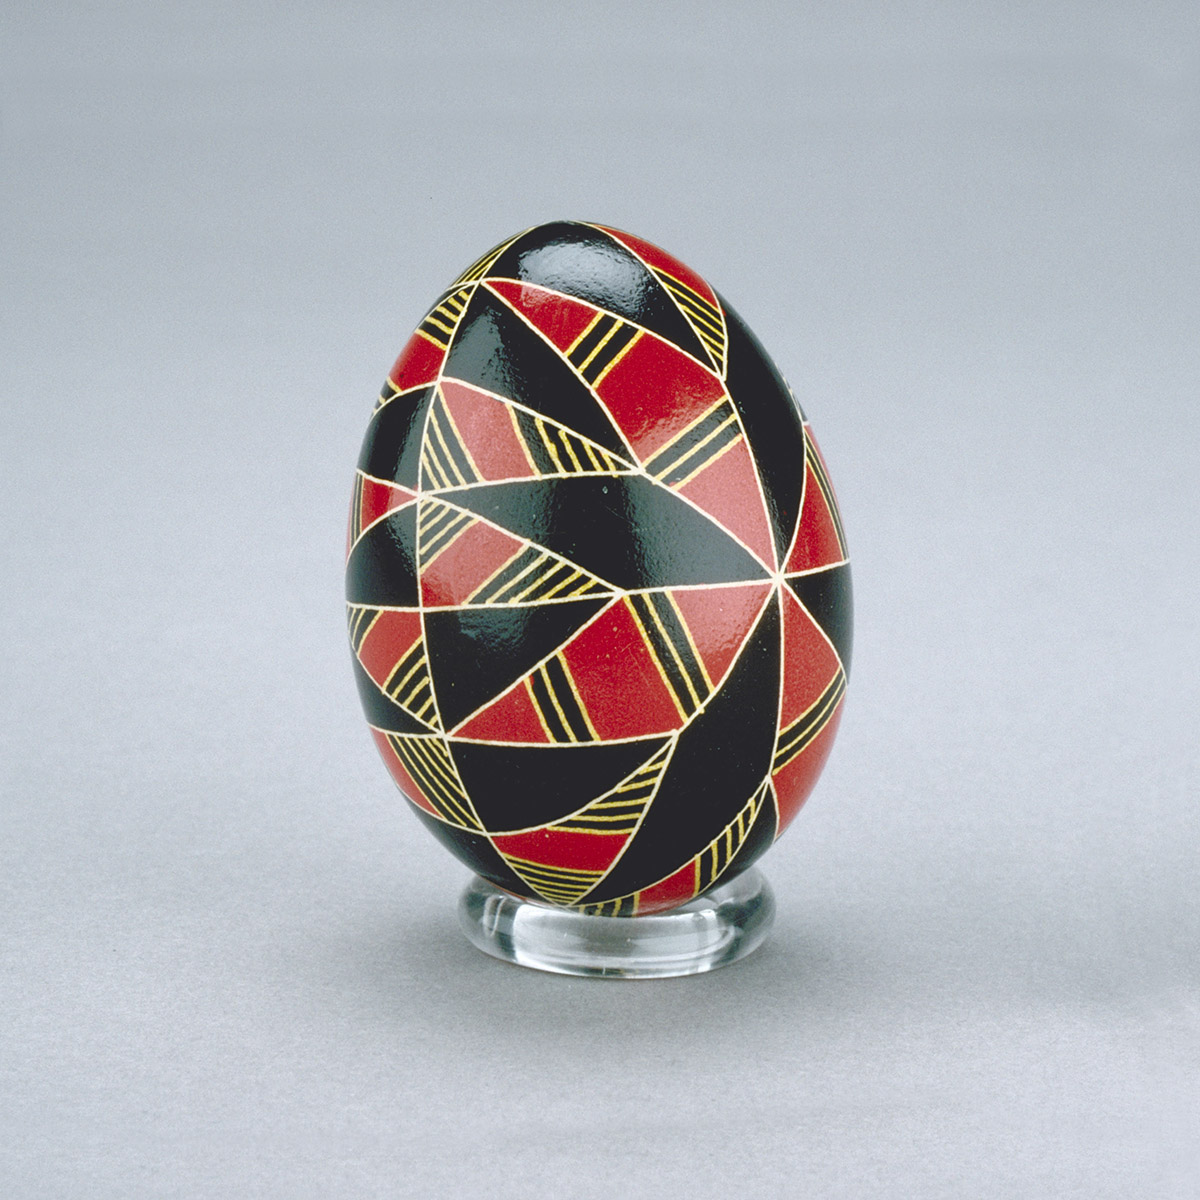
1972
Mrs. Odarka Sirskyj
CMH, 73-401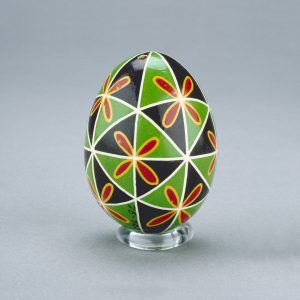 Ukrainian Easter EggArtifact Record
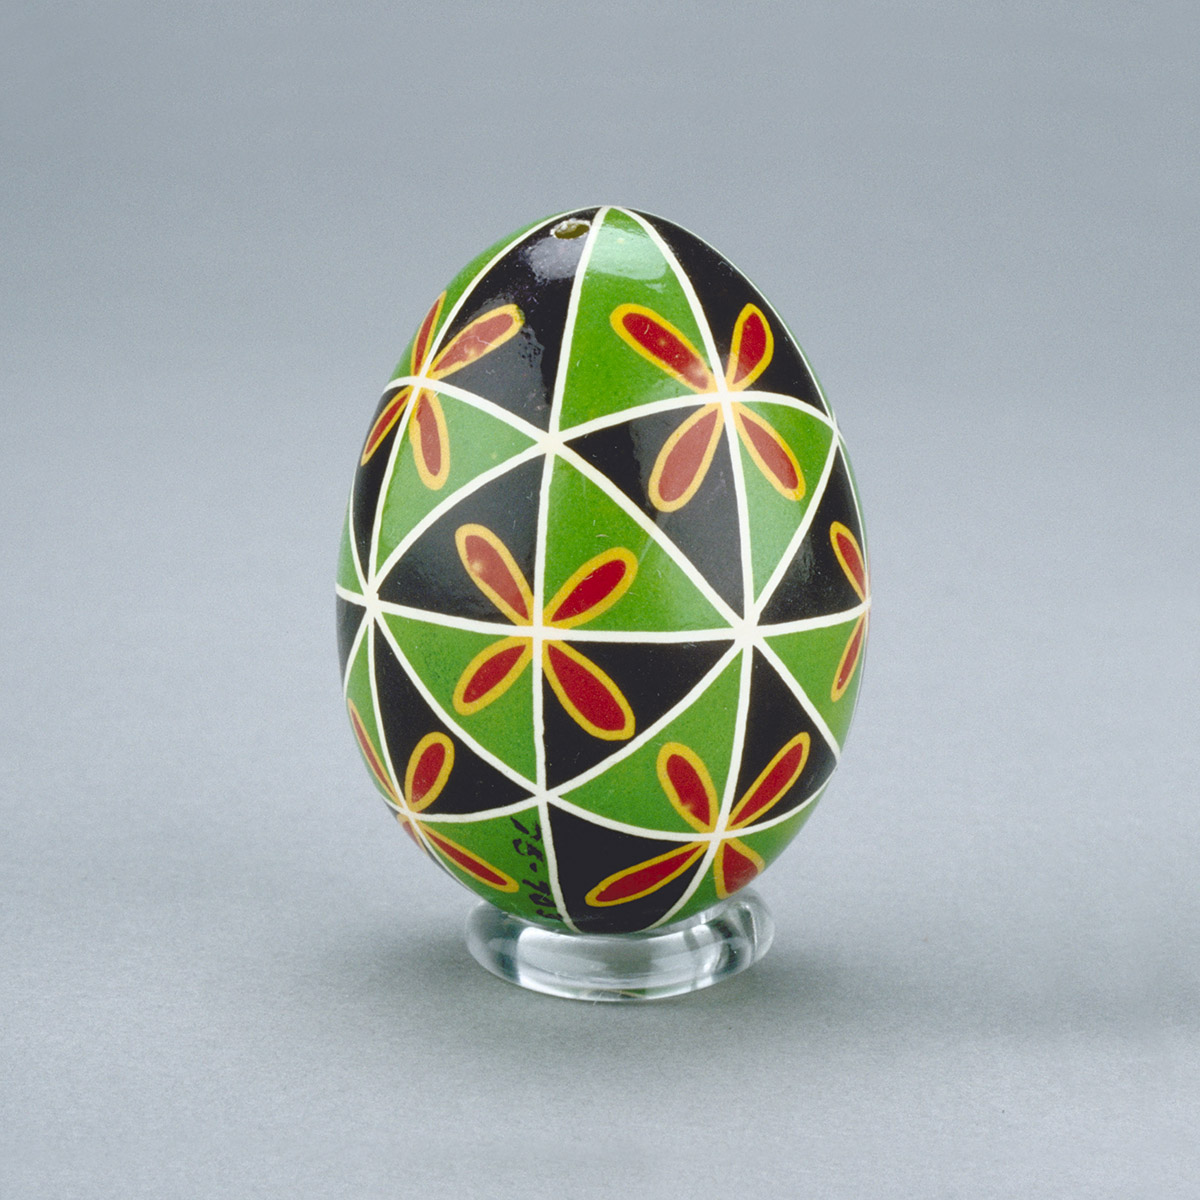
1975
Jacqueline Klym
CMH, 75-703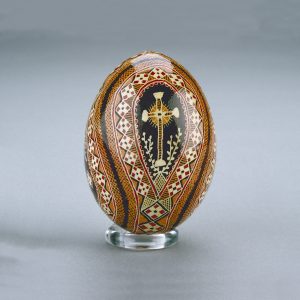 Ukrainian Easter EggArtifact Record
1975
Eva Tomiuk
CMH, 75-640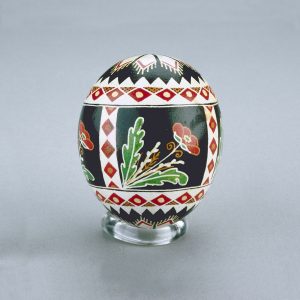 Ukrainian Easter EggArtifact Record
1975
Patricia Ann Cutts
CMH, 75-593


Activities
What are your favourite signs of spring? Hop on into a new season with this inspiring pysanky egg craft!
Discover the history of the Ukrainian tradition of pysanky, then try your hand at creating delicate lines on an actual egg. Use the Museum’s collection of pysanky to inspire your choice of shapes, and enjoy seeing your vibrant colours appear!
You can find all the materials you need at home, from inside your fridge to the back of the pantry, to the depths of your craft cupboard. Above all, have fun with this traditional springtime family activity as you create wonderful pysanky from the comfort of home.
We can’t wait to see your pysanky designs! Share photos of your creations with us on social media using the hashtag #CanMusHistory.
Activity 1
Materials
- Eggs (white or brown)
- Egg carton
- Elastic bands
- Glass jars or bowls
- Teaspoons
- Water
- Dyes (i.e. egg-dye pellets, liquid or gel food colouring, natural dyes)
- White vinegar
- Small bowl
- Measuring spoon (tablespoon)
- Paper towel
Instructions
Step 1: Explore
- Explore the Museum’s collection of pysanky. Here are a few to inspire you!
- Ask yourself: Which signs of spring do I like the most? What springtime designs would I like on my pysanky?
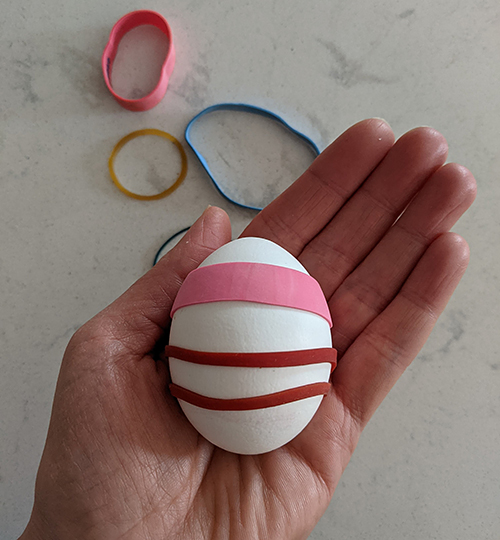
Step 2: Design
- Wrap elastic bands in the pattern of your choosing around a white or brown egg.
Tip: Thicker and stronger elastic bands will stay in place when you use a spoon to transfer your egg from one colour to the next.
Did you know? The white or brown lines underneath the elastic bands will become part of your creative design.
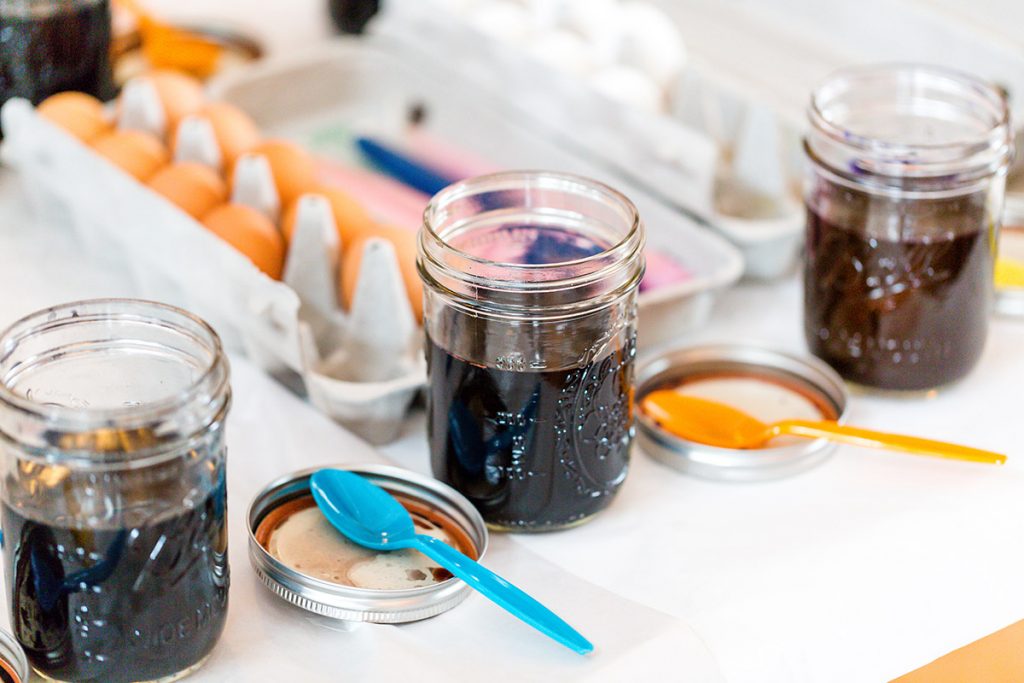
Step 3: Colour
- Prepare jars of dye using package directions — one colour per jar.
- Add 1 tablespoon of white vinegar to each jar of dye.
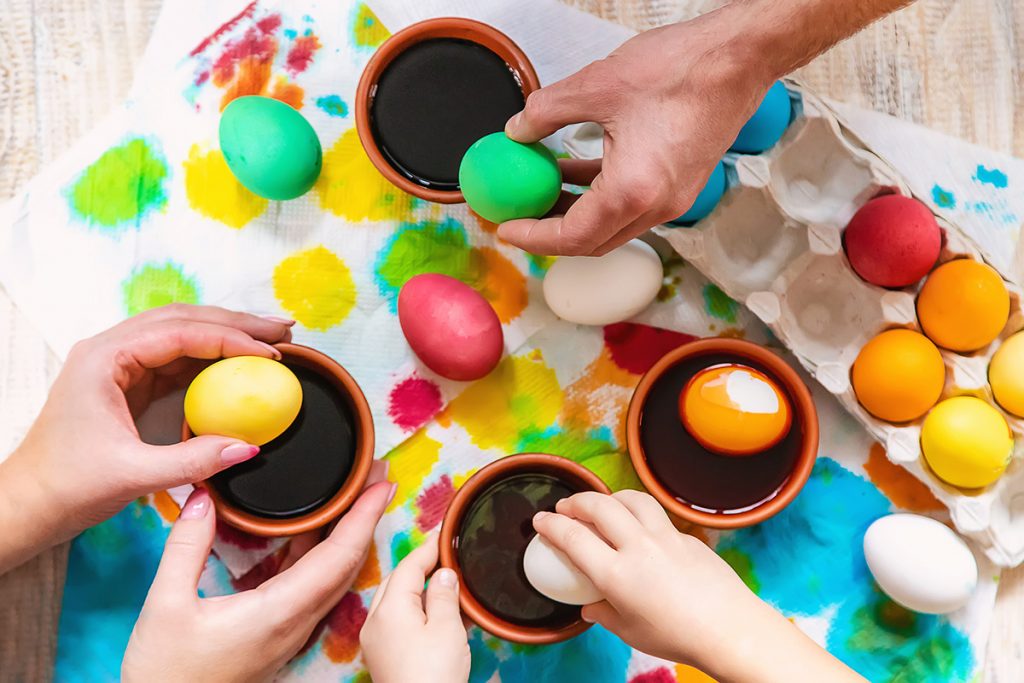
- Carefully dip your elastic-wrapped egg into one jar of liquid dye at a time.
Tip: Dip your egg in colours from light to dark for best results (white, yellow, green, blue, orange, red).
- To make a multicoloured design, remove one elastic each time you dip your egg into a new colour.
- Remove your egg from the final dye liquid, pat dry with paper towel and place it in the egg carton.
- Repeat Steps 2 and 3 with differently wrapped eggs.
Step 4: Reveal
- Carefully remove the elastic bands from your eggs. Admire your creative pysanky!
Step 5: Care
- Handle your pysanky very gently — they are delicate and can crack easily.
- Display and admire your pysanky as you hop into spring!
- Store decorated eggs in a well-ventilated area; avoid placing eggs in direct sunlight.
- Rotate your pysanky every month during the first year of storage — this will help the eggs dry out evenly.
Activity 2
Materials
- Paper egg template (PDF file)
- Coloured pencils, crayons or markers
Instructions
Step 1: Print
- Print the paper egg template (PDF file).
Step 2: Explore
- Explore the Canadian Museum of History’s pysanky collection for inspiration on shapes, angles and colours.
Step 3: Design
- Choose from these traditional pysanky symbols to decorate your own paper pysanka: horse, flower, bird, oak leaf/acorn, spiral, pine bough, cross, rose and deer.
Step 4: Colour
- Colour your paper pysanka using these traditional colours: white, yellow, orange, red, blue, green, brown and black.
Step 5: Reveal
- Admire your paper pysanka and its array of meaningful symbols and vibrant colours.