Using a diversity of techniques and designs, artisans from many Indigenous Nations create breathtaking pieces of beaded artwork.
Among these Nations, the Métis are renowned for their beautiful and elaborate floral beadwork designs. You will find examples of this artwork below, which show that beading traditions remain alive and well today.
Before glass beads were available, artists used shells, animal bones and clay for beads — along with porcupine or feather quills and moose or caribou hair — to create designs on clothing and other personal accessories. The patterns are as diverse as the people who create them, often taking form as abstract or geometric shapes, birds, animals, plants and flowers.
There are many techniques used in beading, often passed down among women from one generation to the next.
The first step in beading is to plan the design. This can be done in several ways. One way is to use graph paper as a template. The design can be drawn using one square on the paper to represent one bead in the design. The paper is then attached to a backing and the beads are sewn on top of the paper design.
Want to try beadwork, but don’t have the beads? Just follow the activity instructions below.
Step 1: Gather your materials
For this activity, you will need a few sheets of paper (graph paper if you have it), a pencil and colourful markers.
Step 2: Plan your pattern
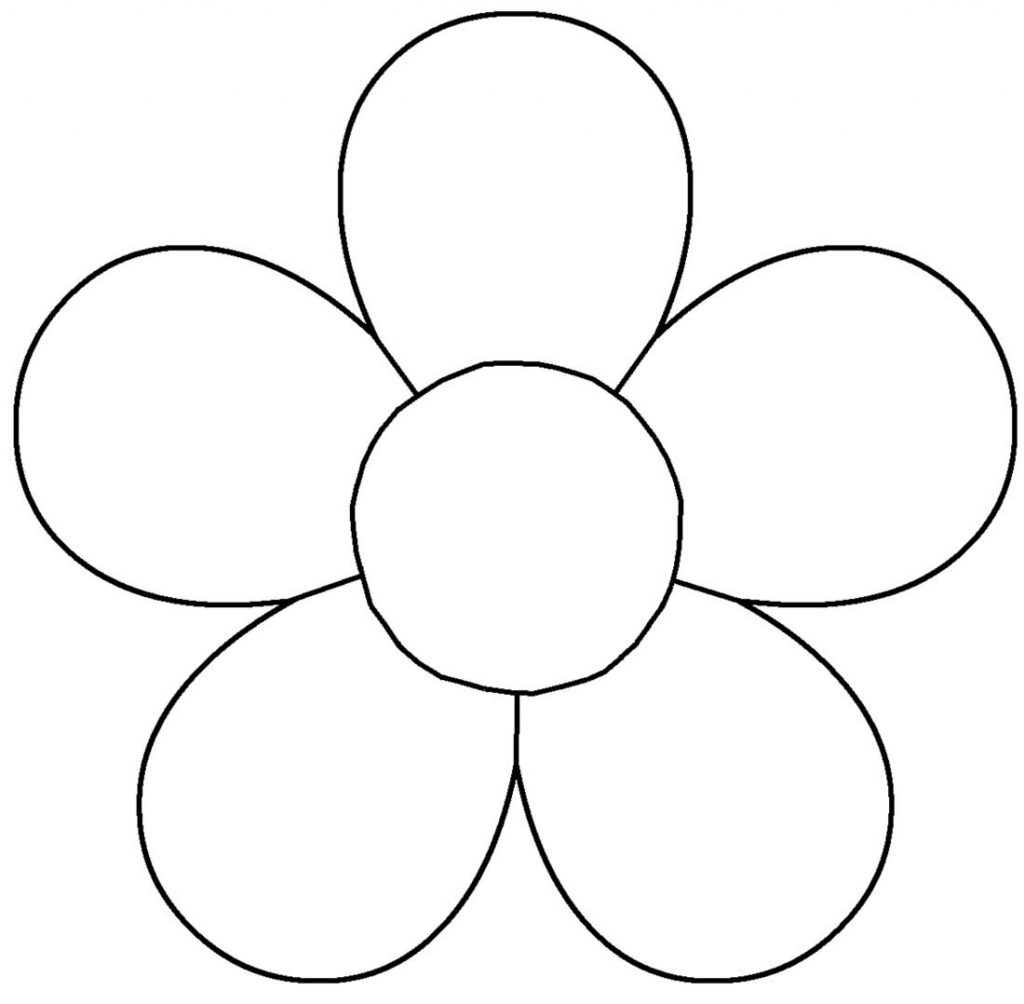
On a couple of sheets of paper, use your pencil to practice making patterns. Think about the images you want to create and the colours you want to use (you can get started with this five-petal flower pattern).

If you are using graph paper, each square can represent one bead.
For inspiration, take a look at these beautiful examples of Métis beadwork in the Museum’s collection:
• Beadwork sample
• Pouch
• Watch pocket
• Cuffs
Don’t be afraid to make mistakes. Beadworkers will often take apart designs and restart them until they are happy with the result. This step is all about experimentation and being creative. Besides, practice makes perfect!
Step 3: Make your pattern
It’s time to put your plan into motion. Choose your favourite practice pattern. Recreate your pattern on a clean sheet of paper using only dots with your markers, or the squares on graph paper.
Hang your finished artwork somewhere it can be admired!
Photo at top of page:
Artifact V-X-5, Ammunition pouch
Canadian Museum of History, IMG2008-0583-0161-Dm