Events and programming
July 23–25


Plan your visit
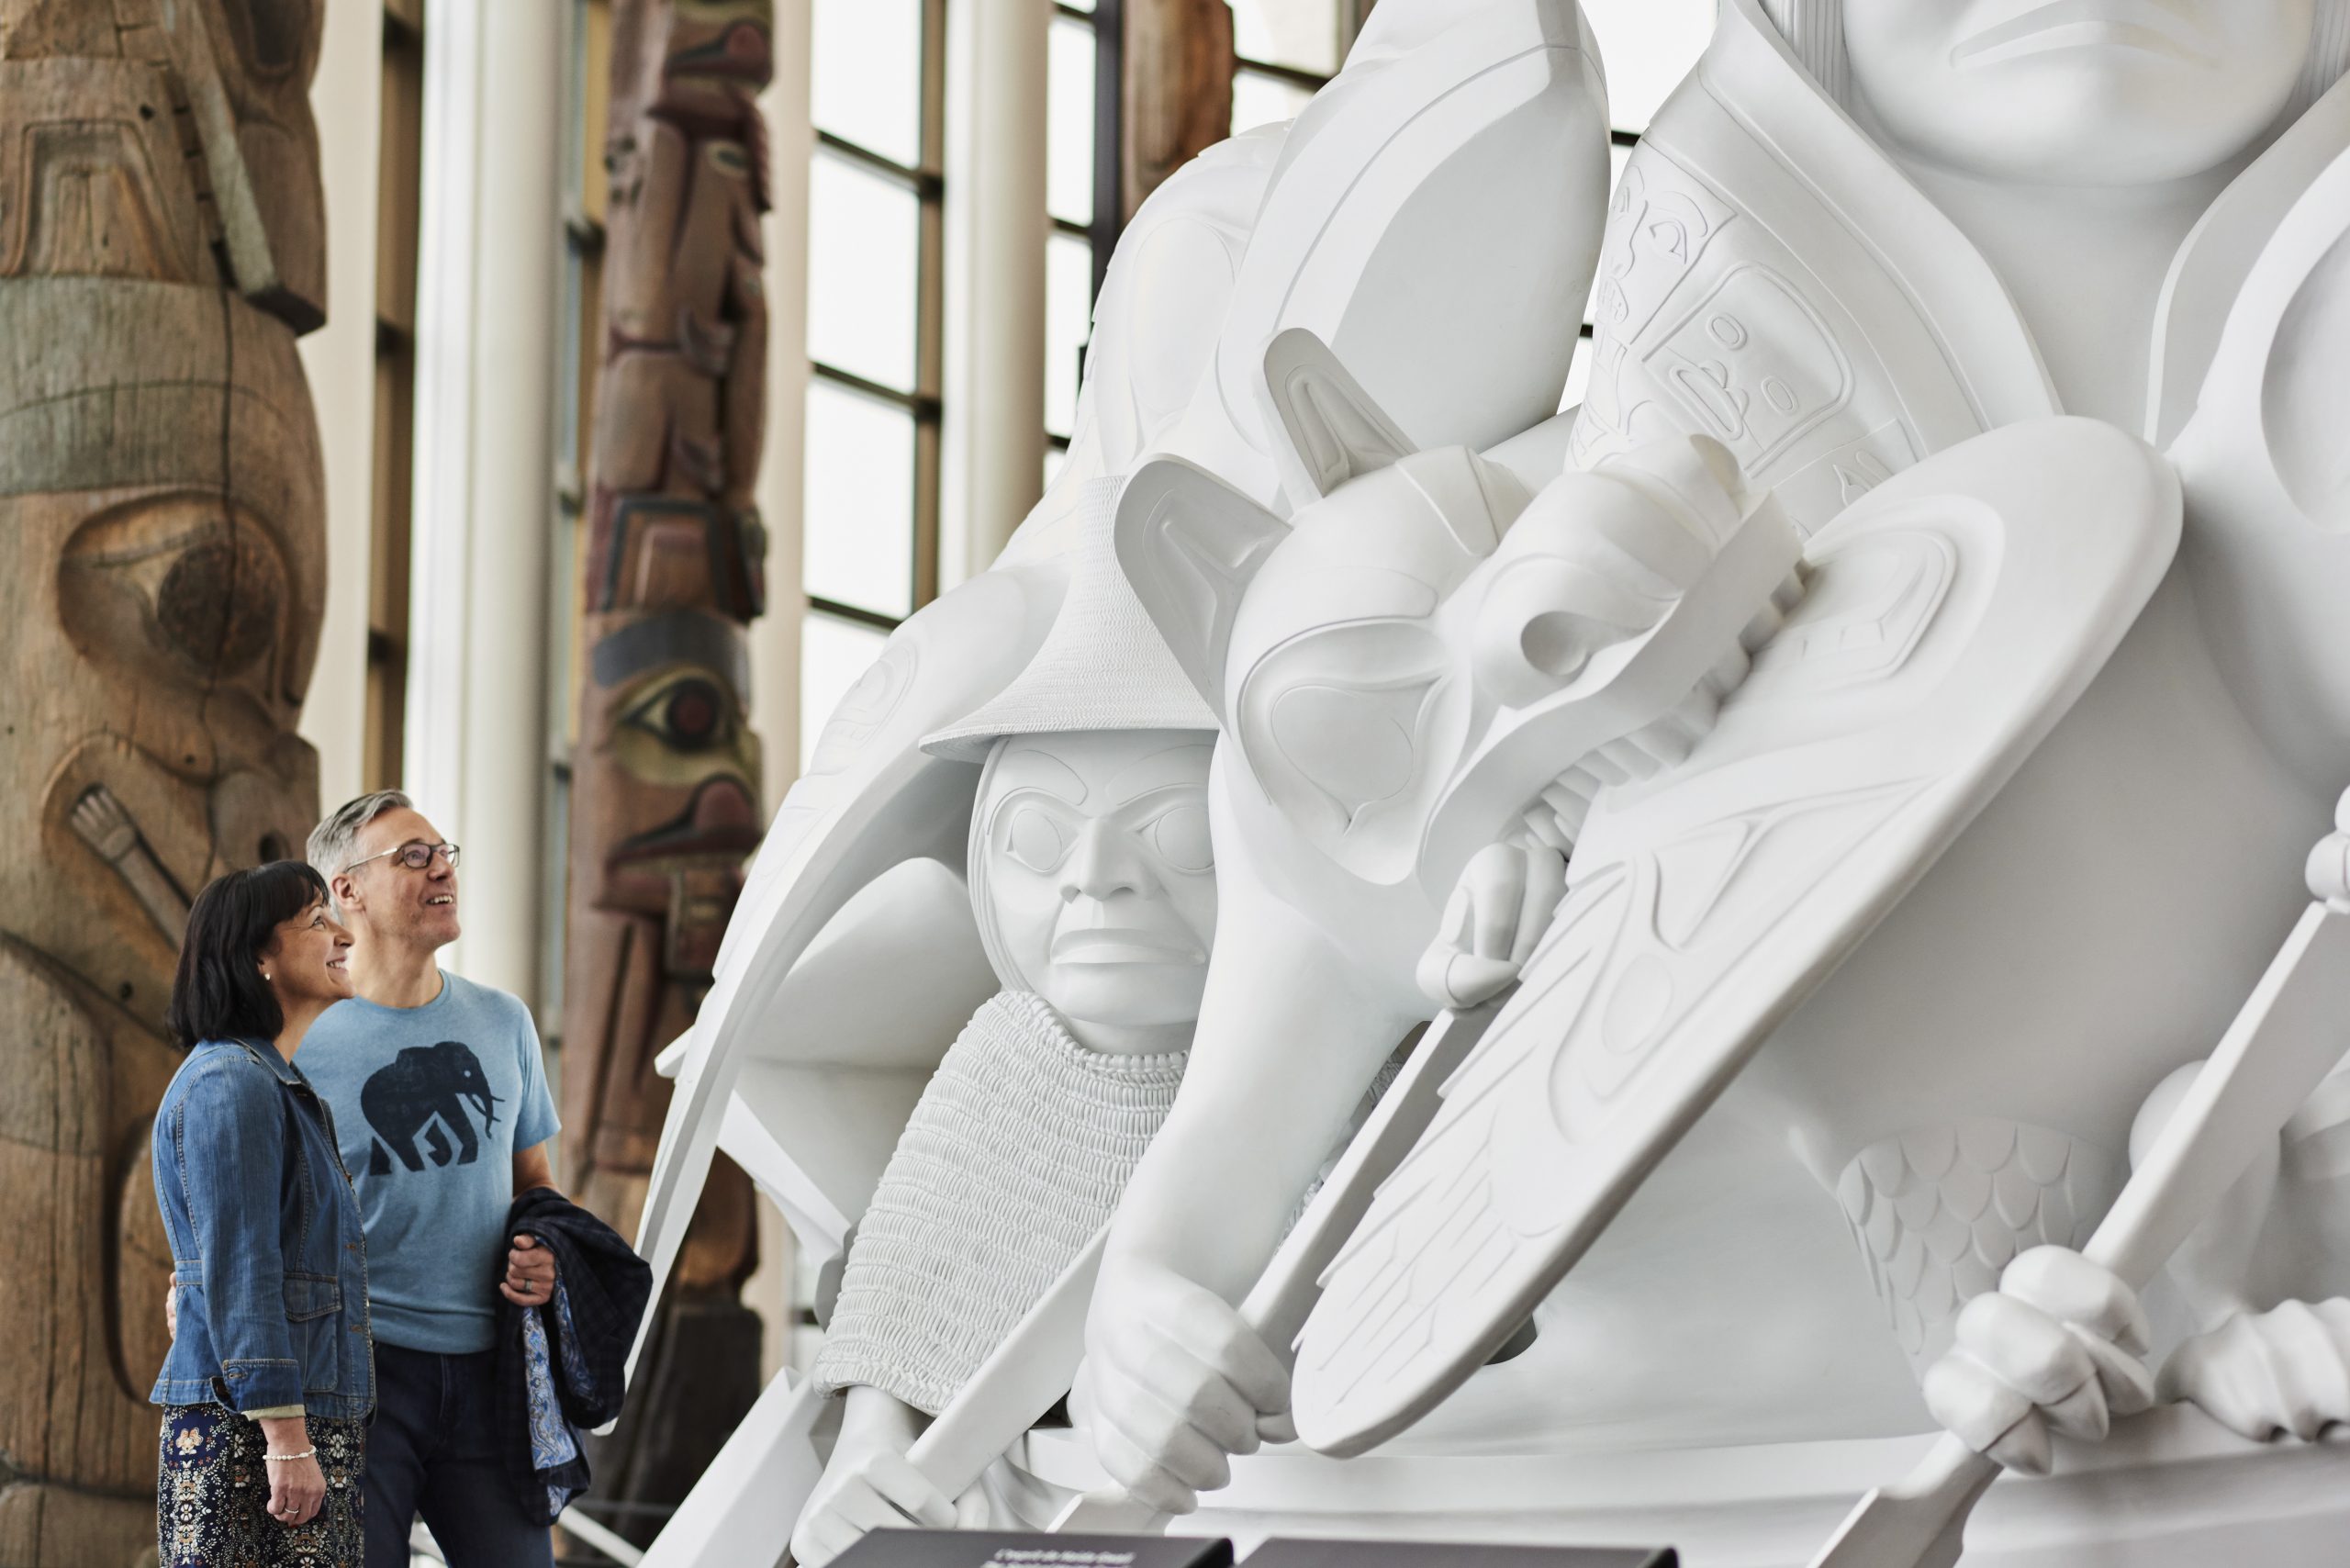
Visit the Museum
Planning a visit to the Museum in Gatineau? Here is everything you need to know about hours, admission fees, visitor services, and more.
Plan your visit